Our Creative Process from Start to Finish
Disclaimer: This post may contain affiliate links. Please see our Disclosure Policy and Advertiser Disclosure for details.

Disclaimer – This blog post features some affiliate links, which means we get a small commission if you make a purchase (at no extra cost to you). It’s one of the ways we can keep producing free guides and resources for our blog readers. Thank you for the support!
There are many facets that go into our full creative routine as adventure travel photographers. There is a lot that goes into making a photo come to life whether it is through research, making a shot list or mood board, actually shooting the imagery, editing, printing, and posting our photos. This article will take you through our creative process from start to finish as we take our adventure self portraits.
Before we jump into our full creative step by step tutorial, we do want to mention that this blog post is in collaboration with Printique. They are our go-to online print shop for purchasing our photos and bringing them to life. Printique offers fast shipping options and turnaround times, and a fantastic variety of printing options from paper, metal, and canvas prints to photo books, premium albums, gifts, and calendars. Now let’s get to talking about our creative adventure photography flow!
Research & Shot List:
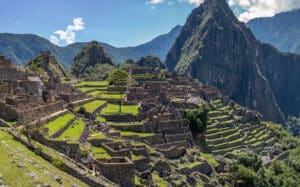
When first starting out in adventure photography, we were commonly drawn to the phrase “adventure better.” The best captures usually come from exploring epic locations themselves. That’s why we always put in time to research new locations near us, whether they’re accessible via car, backpacking, hiking, etc.
We usually consult several resources before embarking on our adventures. Pinterest, All Trails, The Outbound, Blogs, Google Earth, and Instagram to try and find new spots to explore and photograph. We make a shot list and save it to our phones before we head out for inspiration, and then try to come up with original ideas once we arrive at a new location.
Photography: Shooting in Manual + Composition
Gear We Use for Photography
Before we leave for any trip, we always make sure we pack all of our camera gear. For a full comprehensive list of our gear check out our most recent camera gear blog. There are some essentials we never leave behind. These include our camera bodies, Canon 5D Mark III and the Canon 80D, our Peak Design Capture Card to carry our cameras on our backpacks, as well as our Tripod & Remote.
Whenever we set up a shot we do the following steps:
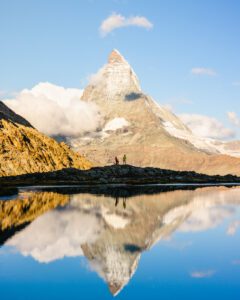
- Composition: When we are adventuring, we look for leading lines, interesting textures, beautiful reflections, anything that catches the eye! That is how we decide where we are going to take the photo and how to frame it.
- Set Up: We take out our Peak Design Travel Tripod and our Aodelan Pebble Remote. We flip our camera vertically on the tripod since we usually shoot in portrait due to the 4” x 5” Instagram crop. We’ll take landscape photos afterwards if we want them using the same process. We check to make sure autofocus is on, that there’s enough room on the SD card and battery, and that no one is in our frame. Sometimes, this is inevitable with crowded areas, but we try our best to make sure we’re the only ones in our shots. Then we turn on the remote. Then, we adjust our manual settings like ISO, Shutter Speed, and Aperture to make sure the shot is how we like it. For more on shooting in manual and getting comfortable ditching automatic settings, check out our Travel Photography E-Book.
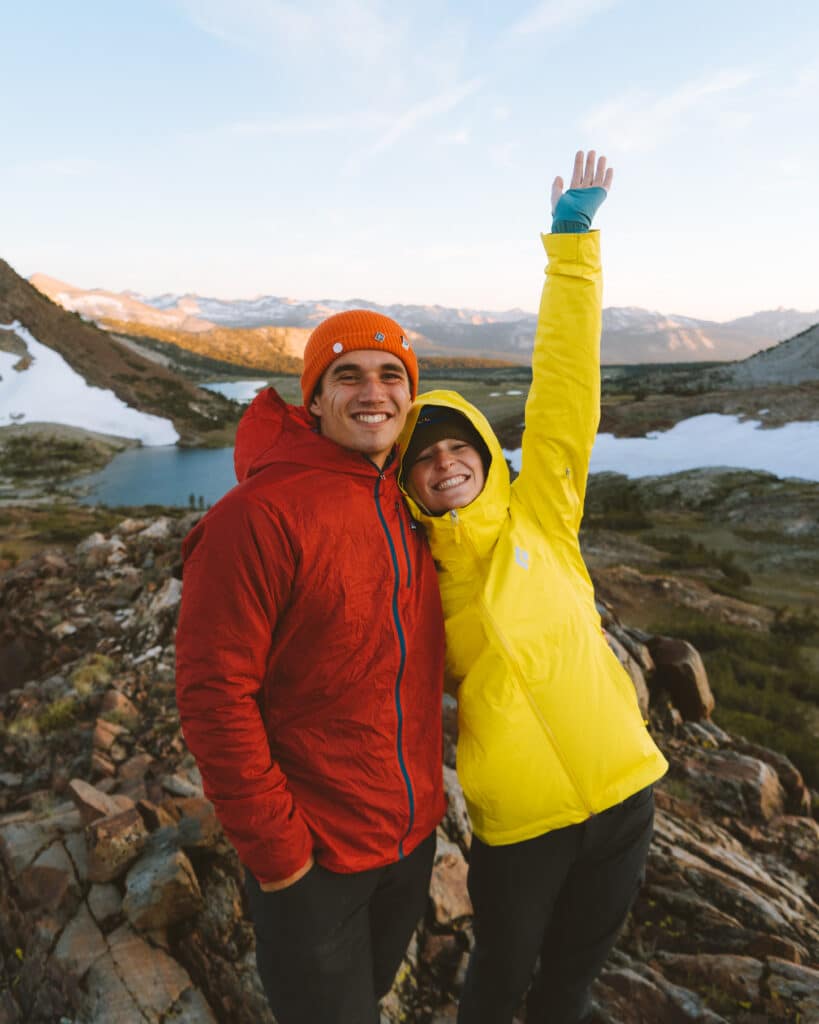
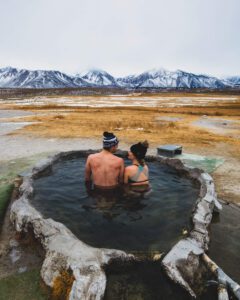
- Test Shots with Subject in Frame: Once the camera settings on manual are set, then Giselle will move in frame while Stephen makes sure the composition looks good. If you are doing this solo, this can look different. We always recommend throwing a backpack or another object on hand in the frame so your camera can focus on something where you will be standing. Giselle will also bring the remote with her to make sure she is within range of the Bluetooth transmitter.
- Pose & Shoot: After our test shots are complete and we are happy with our composition and framing, we start posing. Stephen runs over and we take about 10-15 shots with various poses. We constantly check the camera to make sure no one takes it or is too close to it. After about 1 minute of photos Stephen runs back and checks them before we move on. It’s a process but we love having the photos for memories and it’s always worth it!
Editing:
Once we finish taking photos on a trip, the first thing we do is drop the RAW files into multiple places. We always back them up on two hard drives and our Lightroom Cloud. It is better to be redundant in the case of technology failing on you – we’ve learned that lesson with a hard drive failure already. To convert our files over to our computers and hard drives, we use a CF/SD Card Converter.
When it comes to editing, you want to make sure you have the proper tools for the process. I use the Adobe Cloud for everything, specifically Lightroom, Lightroom Classic, and Photoshop. Before uploading them to Lightroom, Giselle will sift through the photos and flag any that she wants dragged into Lightroom to edit. From there, she will sort through and star the top images and edit each image various ways until she finds an edit she likes. For a more in depth view on this process, check out our Youtube Channel.
Printing:
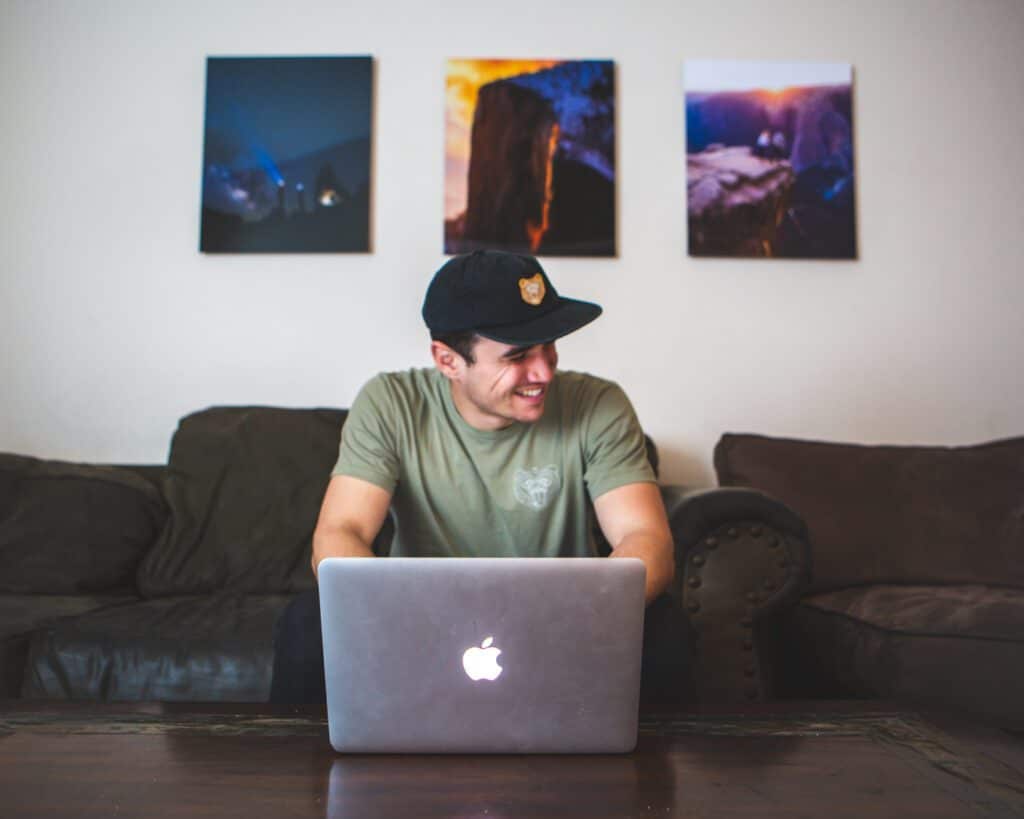
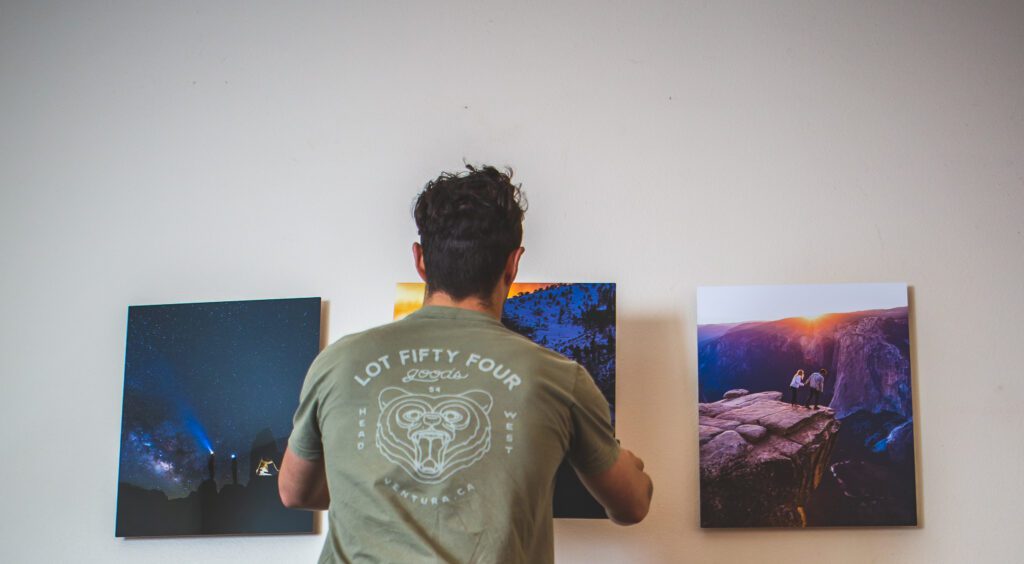
Once we have finally finished our editing process, we get so excited to print out our photos! Seeing our photos come to life in our respective houses is so amazing. It’s a perfect way to be reminded of the amazing memories we capture out on our adventures. We first started printing our photos when Giselle ordered a print from Printique for Stephen’s birthday of his favorite photo in Yosemite. Then, we ordered two more for Christmas and our anniversary of our favorite shots from our Utah road trip, the Yosemite Firefall, and Alabama Hills! There’s a bit of a learning curve when it comes to exporting your photos. We eventually learned the proper settings for print, so we are so excited to be partnering with Printique for this blog to help you print your photos without the stress.
Exporting Your Photos:
When blowing up an image on a print, it is extremely important to make sure that your image has the proper resolution so that its quality remains! For the best printing quality, Printique recommends exporting images at 300 DPI with the dimensions to fit the size you wish to print at. DPI stands for dot’s per inch or the number of dots in a printed inch. The more dot’s the higher the quality of the print (more sharpness and detail) and the higher the resolution.
For example, if you have an image with 300 DPI and dimensions to fit an 8×10, but you want to print a 24×30, then you will still lose some quality. To figure out what resolution you would have to export at in Lightroom for the same 24 x 30 print, you could use the following:
- (24 inches×300 dpi)×(30 inches×300 dpi)= 7200×9000 pixels goal
Alternatively, you could check your image’s pixel amount in Lightroom under the information tab and divide those numbers by 300 (or any other desired DPI) to see how large you could possibly scale the print to keep a high resolution. Printique prints in both JPEG and TIFF files, and works in sRGB color space. To double check that your image is a high enough resolution, Printique’s software will tell you if your photo is excellent, good, or bad quality before proceeding with the checkout process which is very nice. If you need any further help on exporting your photos you can contact their team here.
Uploading Your Photos:
One of the nice things about Printique is that you can upload photos directly from your computer, or import photos from Facebook, Instagram, Flickr, Google Photos, Dropbox, or Amazon Cloud. We usually upload our photos directly from our computer. Once you upload to a gallery, Printique offers free, unlimited cloud storage. If you want to print directly from Instagram, check out this article explaining the most efficient process.
Once you upload your photos for print, you’ll need to decide what kind of print you want. We are personally huge fans of their metal prints and have previously ordered five 20 x 24” Metal Frames with a Glossy Finish for our favorite photos. BUT you also have so many options, whether it’s printing on wood, canvas, frame, or metal as well as the options to include your photos in photo books, calendars, and other personalized gifts.
Posting on Instagram:
Once we decide where we will be displaying our photos, whether it’s on a print, on our website, or on Instagram, we have to export them from Lightroom or Photoshop based on the output format. For Instagram, we personally use the ‘Custom’ export feature and set the long side of the image’s pixels to match 1350 pixels. We have found this to be the sweet spot for us in terms of maintaining image quality. This way it’s clear and crisp, but also isn’t so large of a file that Instagram compresses it and decreases the quality upon posting. These are the settings that I usually use:
- Image Crop: 4:5. (You’ll notice we never post landscape photos. Statistics show that they tend to be overlooked slightly more than the portrait 4:5 aspect ratio)
- File format: JPEG. (You could also upload as a PNG, we just stick to JPEG as it’s the default in Adobe Lightroom)
- Color Space: sRGB.
- Quality: 100.
- Size: 1080px x 1350px
- Sharpen for Screen
Now, this may be different for everyone, but these settings seem to work for us and displaying our portfolio of work on Instagram.
Overall, that is our whole creative process simplified into one blog post! From research, to taking the photos, to editing, to printing, and to sharing on social media platforms, there are tons of steps in our workflow. Feel free to leave any questions you may have in the comments below!
Disclaimer: A huge thank you to Printique for partnering with us on this blog post. When hearing how much we loved our first 3 prints we bought for each other as gifts, we wanted to reach out. We decided to work on a collaboration to show how we take, edit, and print our photos. All opinions, thoughts, and experiences are completely our own and truthful. Thanks for reading, we hope you found it to be helpful.


